This is another post in the continuing series that describes the Design Suite Process. Please click on "Design Suite Process" in the list to the right to see the previous posts.
When we last left Naomi and Mike, they were deciding on their final design after receiving some alternate versions of the original concepts.
They quickly settled on Design #1 and asked for some possible minute changes. Mike, being an english teacher, was concerned about their names not being capitalized. We also played with the wording some more. I could show you all of these incarnations, but frankly, they aren't very interesting unless they are your invitations. And, for the most part they all looked quite the same, except for the Capitalization experiment, which truly did alter the look of the invite.
After some discussion on the lower case version being better suited to the design, Naomi and Mike settled on doing it that way. I then set about designing the other components of their invitations - the rsvp card ( a postcard in this case) the reception card, the directions card, accomodations card, and finally a "More Fun" card that listed the rehearsal dinner and gift opening. To save on mailing costs, Naomi and Mike will be including that card in the invites going to those invited to those events. You aren't seeing that process because 9 times out of 10, once the main invite is decided on, I design these other pieces and they are usually spot on right away since they follow the main design. Once we had all of these other pieces ironed out and they met everyone's approval (triple proof-read on both ends), Naomi printed them out, signed them with an "Ok to print" written at the top and mailed in the proofs to me.
While I waited for snail mail to deliver the proofs, I ordered all of their paper (a beautiful off-white stock with a rich thickness), created the printing plates (an explanation of their printing process is below), cut the paper to size and ordered the ribbon. One of Naomi's main colors in the weddings is the ribbon color, it is a Midori Double Faced Satin ribbon called "Almond Blossom", available at Romantic Flowers. I also ordered the custom die-cut stickers to be made.
Once everything was ready and proofs were in hand, I got to printing. And here, dear readers are the lovely results:
(identifying information has been doctored in Photoshop)
The whole set: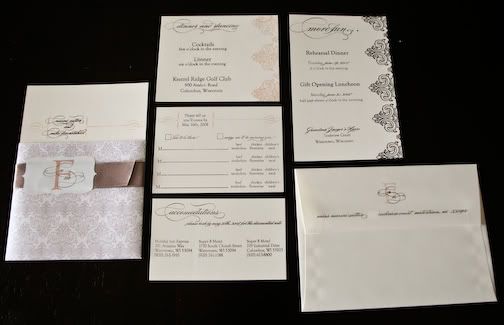
All of the cards to the right of the main invite in this picture got stacked behind the main invite and inside of the vellum sleeve.
All items stacked and ready to be put in the envelope: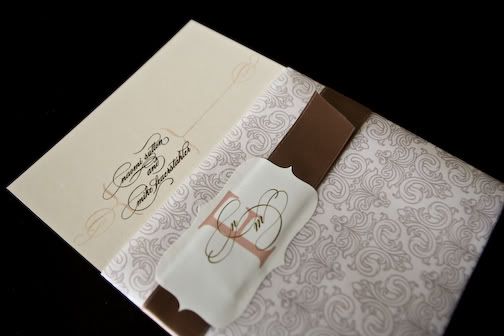
The Main Invite: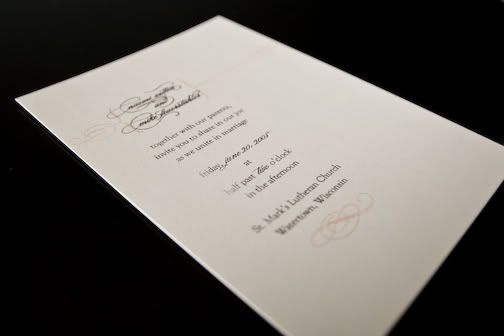
The Reception Card: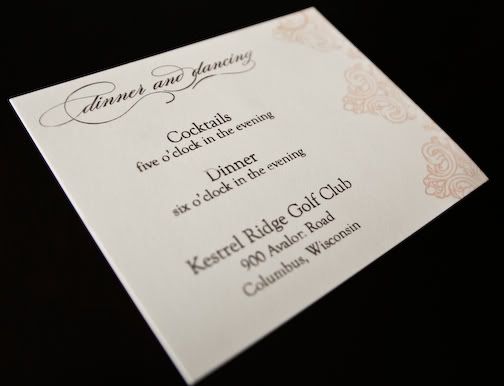
Directions are on the back: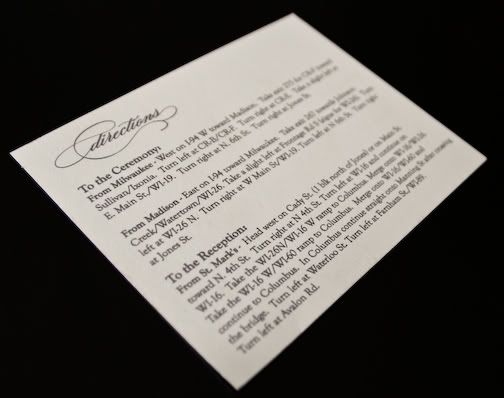
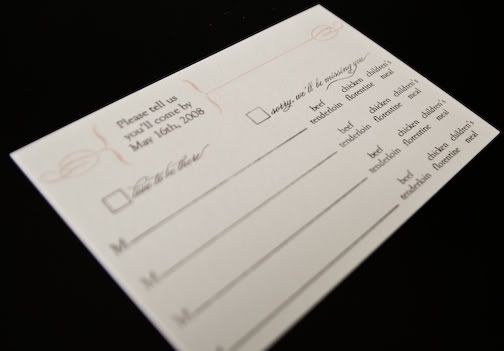
RSVP card: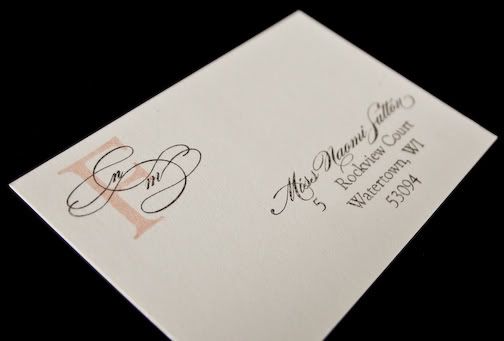
Accommodations card: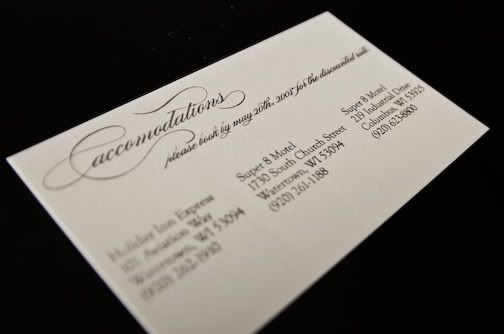
The "More Fun" card: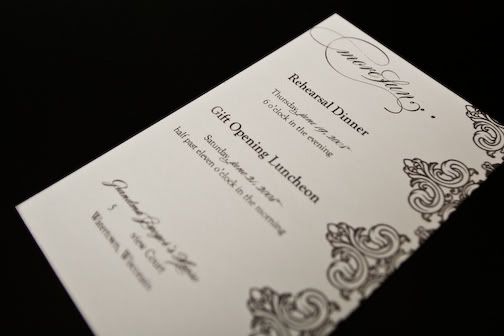
The pretty envelopes: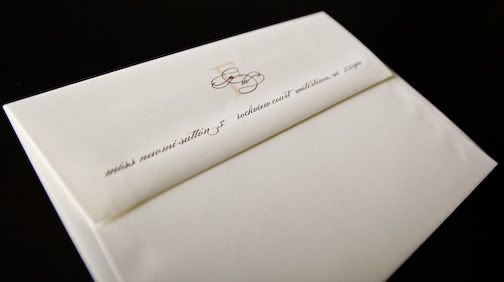
These invites were serigraphy printed, a process not unlike the way your t-shirts are printed. The result is a flat ink, not raised (like engraving or thermography) or indented (like letterpress), but with more hand-made hallmark than offset. You can see in some of these photos the variations that can result in ink coverage and opacity, lending the pieces a beautiful hand-made look.
Let me know what you think of the final results, and stay tuned in the coming weeks as we design the rest of their Suite (programs, placecards, etc).
Thursday, April 17, 2008
Design Suite Process - Part 3
Tuesday, March 18, 2008
Design Suite Process - Part2
This is another post in the continuing series of posts on the Wedding Suite Design process. Please click on the tag to the right "Design Suite Process" for the previous installments. We've been following Mike and Naomi's design process...
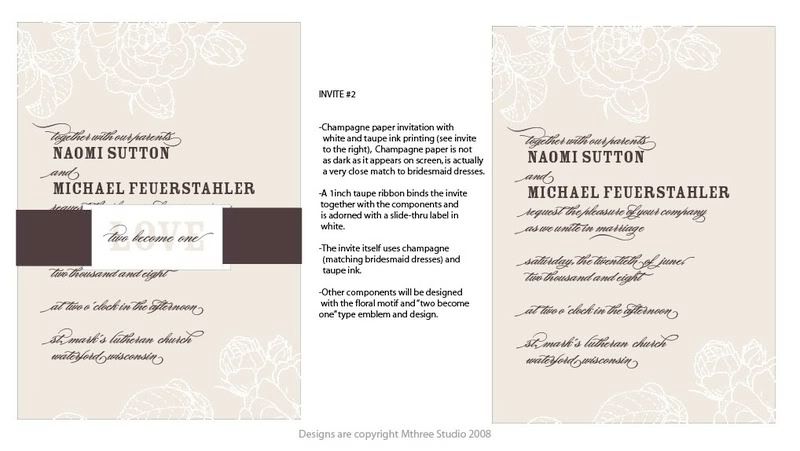
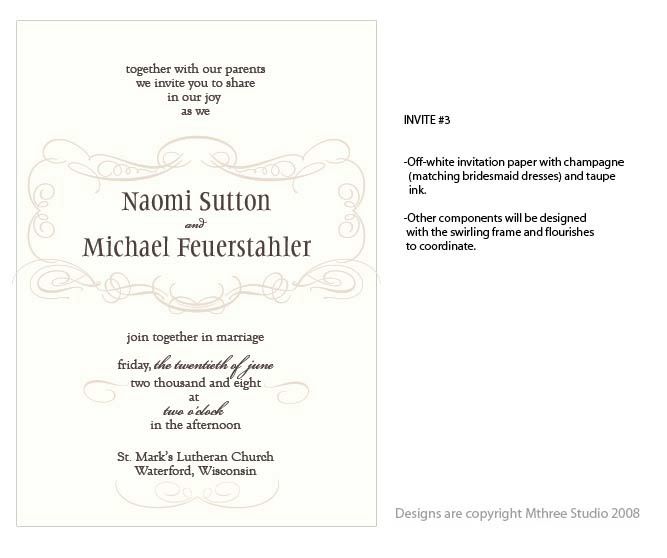
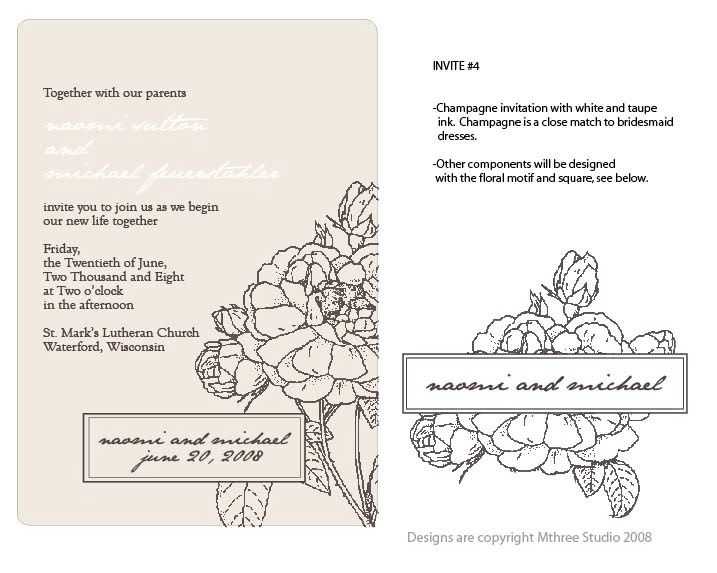
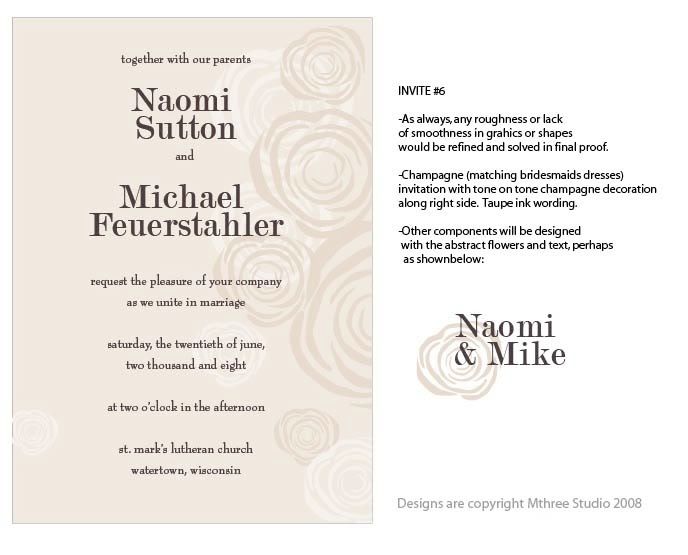
So, after getting all of the design concepts, Naomi and Mike narrowed their preferences down to three designs. Mike had concerns that the invites not be too frilly and girly. Naomi had a strong preference for number one or two, but wasn't sure about the floral motif. They also had some alternate wording they wanted to try out. So, I took those notes and re-interpreted the designs for another go-around.
For invite number one, I changed the wording and also the ribbon tag to utilize more of a monogram instead of the "2 become 1" phrasing on the previous design. 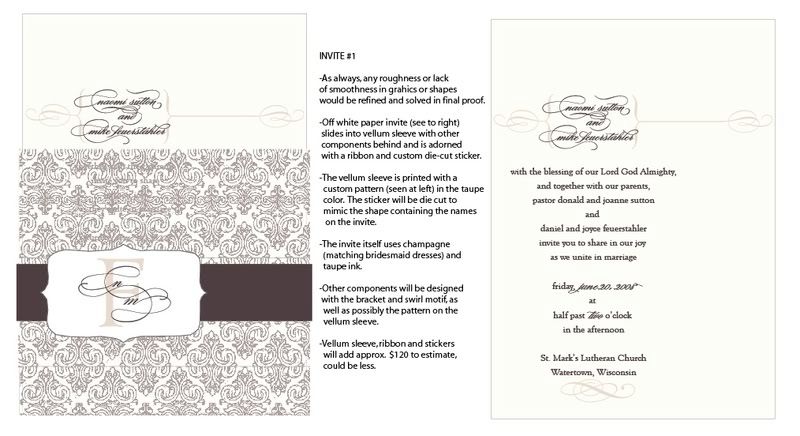
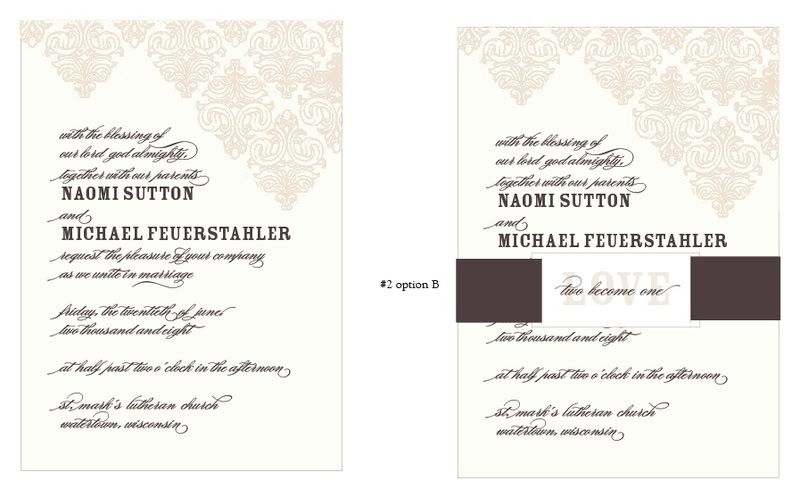
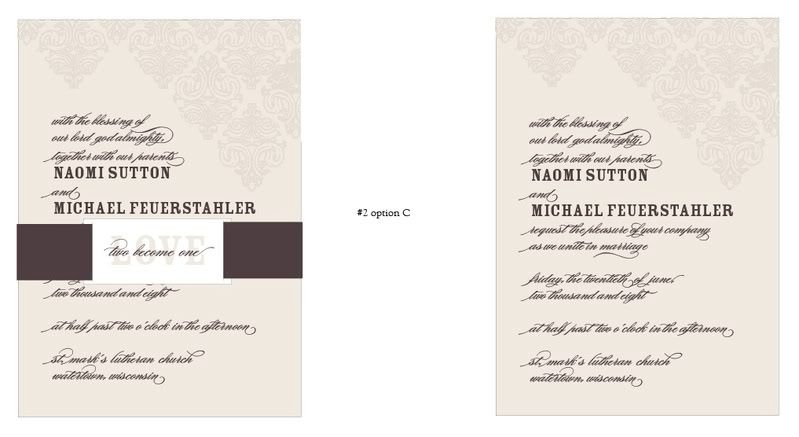
For invite number two, I took the somewhat more masculine motif used in invite number 1, and replaced the flowers with that.
I also gave them a number of different color combination options, as I wasn't sure how subtle they were going to want it. 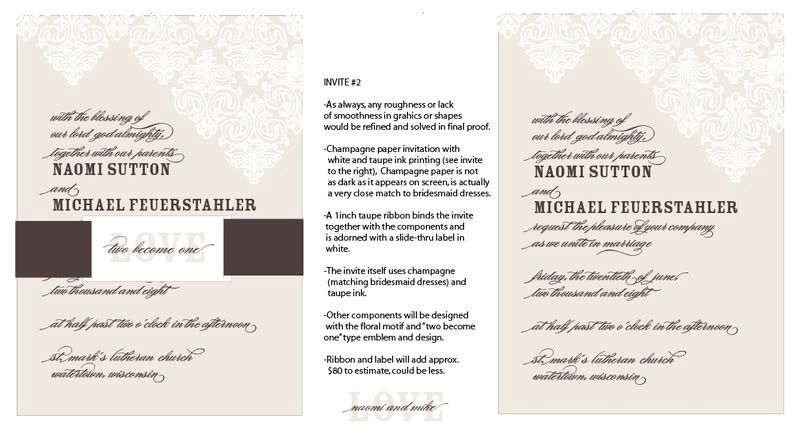
Stay tuned to see which design Naomi and Mike picked in the next installment.
Friday, March 7, 2008
Design Suite Process - Part 1
Obviously, not much is happening in photoland here at Mthree lately - February and March are notoriously light for weddings. But the design side of things has been keeping me more than busy. As many of you know, I specialize in Wedding Design Suites - a full set of all your paper (and other) design needs for your wedding. I have a full complement of these clients this year, so if I can keep up with myself, you should see lots of beautiful paper goods on the blog.
There is one bride who is close to finalizing all of her invite pieces, and I'm so in love with her design, I asked if I could share the whole process on the blog, and she agreed. And so begins a multi-part series that should span a few months as we design everything needed for Naomi & Mike's wedding in June.
When someone inquires about a design suite, we sit down and talk about all of their plans and inspirations for the day. I try to get a good sense of the style, feel, formality and budget of the couple so that I can design a suite that is appropriate. I bring along tons of pictures and samples to sift through - which we do with great relish. We also talk about their specific needs such as invitations, save the dates, rehearsal dinner invitations, placecards, thank you notes, welcome packets, menus, programs, etc. I make a long detailed list of what they want, what they need, and some key choices so that I can make an estimate for them. Each estimate is based on all of the above and then quantity of each item they need, the type of materials they would like and the printing processes they prefer. These three things have a big impact on price. By far the biggest factor is the printing process they choose - laser, offset, serigraphy, letterpress, or engraving. I draw up a detailed estimate and submit it to the client. If it meets their approval, they sign it, send in a retainer fee and we begin.
Each client then gets a detailed design schedule - with so many clients, I have to have everyone worked into the calendar so that we don't get behind on anything. Invites have to go out when they have to go out, there isn't really much leeway there and having the schedule allows us to meet those deadlines. The schedule will tell them when they owe me information like info for their invites or the list of names for their place-cards and also when they can expect to receive designs for review.
Once we have the schedule in place it is time to get to work on some concepts for their invites. (If they ordered Save the Dates, we would do those first, but we are going to skip those in this series) Based on our conversations I come up with five or six ideas for their invites and send them to the couple for review.
For Naomi- I actually got to help design the look of her wedding a bit. She and I met because she is using the same photographer I had for my wedding and had seen the bridesmaid dresses for my wedding and wanted them as well. The photographer put us in touch and one thing led to another. I helped her find the dresses and then she came to me to help her design the wedding as well. What she wanted was similar to what I had done, but we changed it a bit. So Naomi's wedding will be vintage in sensibility, sweet, delicate in details and really just pretty. Her colors are a purply-brown taupe, champagne pink and off-white. All of her pieces will be serigraphy printed.
To start the process, I design just the main invite piece. Once a design is chosen, I move on to the other components (rsvp card, reception card, etc) So, here are the design concepts I came up with for Naomi (all designs are copyright Mthree Studio):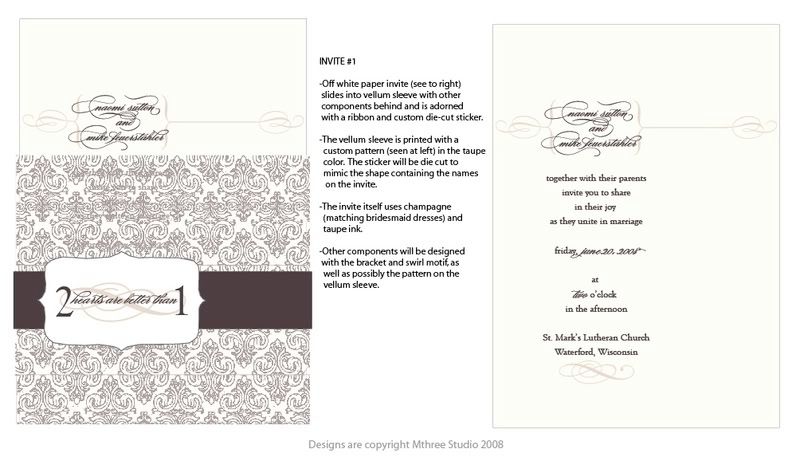
>
Which design do you think they ultimately chose?
More to come in Part 2...